Step-By-Step
This is how I illustrate a picture book.
Thumbnail sketch for 9 Bears, from Musk Ox Counts, by Erin Cabatingan. A Musk Ox guides a zebra through the story, which is a spoof on counting books.
After a publishing house accepts a manuscript from the author, the editor sort of plays matchmaker by choosing an illustrator, possibly me. It's then my job to decide how the story will be laid out in the book, the pacing, and what the characters and scenery will look like. I almost never talk to the authors about what they have in mind, although sometimes the manuscript will include a few visual hints.
I start with character sketches. I usually draw the characters a few different ways, and ask the editor which direction best fits the story. This is extremely helpful to me. Any book could be illustrated multiple ways, even by the same artist. I need another pair of eyes to make sure what I'm imagining is actually translating onto the page. Next, I put the characters into a dummy: an approximate layout of all the pages of the book, sketched in pencil. The editor and the author both go over the dummy (usually independently), then the editor suggests changes. Unless I think a revision is way off track, I'll make it. Most of the time their suggestions improve the book. Many times I have looked back to my original sketches and been grateful that the editor asked me to change them. Once or twice I have looked back and wished I had fought harder for something, but ultimately I know that the editor is the coach and I am on a team. What is precious to the creator does not always translate to the audience — perhaps you've seen a director's cut that wasn't as good as the theater version of the film.
Final sketch for 9 Bears. I changed it to a cave scene. I try to come up with a composition that helps move the story along. The two bears that are nose-to-nose on the ground make one shape that points diagonally toward the focus of the action, the angry zebra.
Once the editor is happy with the dummy, it's time to paint. I begin with white illustration board (a thin cardboard panel) and paint it with acrylic (water-based) paint. I like painting on a colored background because a white surface requires much more paint to achieve nice, rich colors. A background color also affects the paint applied over it, which helps unite the overall picture. I chose yellow in this example because there would be a lot of warm colors in the illustration. If this was a night scene, I'd probably start with dark blue.
The board is clipped to plywood to keep it steady. The border indicates where the image will be trimmed for the book. I work about 120% of actual book size because art usually looks better when it's reduced.
With a big brush, I use thinned (with Turpenoid) dark brown oil paint and just start "blocking" out the image. At this stage I work very quickly, and I find that speed helps keep the characters looking fresh and natural.

I slowly work in more detail over the entire image, rather than finishing one section at a time. That helps the painting develop as a whole, and keeps my options open. If I need to make a change, I just wipe the paint away with a rag.
I use a very fine brush for some of the small stuff, like the lettering on the mail slot and the remote control buttons. I like keeping some areas looser (like the fur on the bear at lower right) because details attract the eye, and so I use them to steer the viewer to the important areas first.
Remember the yellow background I started with? It's still in there, subtly. Even in the blue sky.
Here's another illustration, done slightly differently:
Final sketch for Europe, from The World According to Musk Ox, a spoof on a geography book.
This time I drew the image onto a colored background, because the image was so complicated that I needed to map everything out. Note that the approved sketch didn't have most of the details — I try not to kill myself making incredibly tight sketches because it's nice to leave some of the thinking for later. Otherwise I'm just copying myself, and that's not only boring for me, but can rob some of the freshness and spontaneity.
I seal the pencil drawing with a clear acrylic spray before painting. This keeps it from mixing with the oil paint and making it muddy.
If there is a prominent sky, I put that in first. The yellow background works great for sunny days, because it shows through the blue and white paint. I work from back to front, and in this case I'll finish off details like the Eiffel Tower before doing much with the foreground characters. If I did them first, I'd have to paint the background around them. This way I can just overlap the paint as I go.
Here's the finished illustration. The yellow background I started with is subtly making everything look happy.
Final art for Europe, from The World According to Musk Ox, by Erin Cabatingan
Here's a sketch for Finding Hens Online, from EIEIO! , by Judy Sierra. The text mentions that Old MacDonald is looking for a hen to help him with his farm, but since it doesn't mention how, I made him search online, as if he were computer dating.

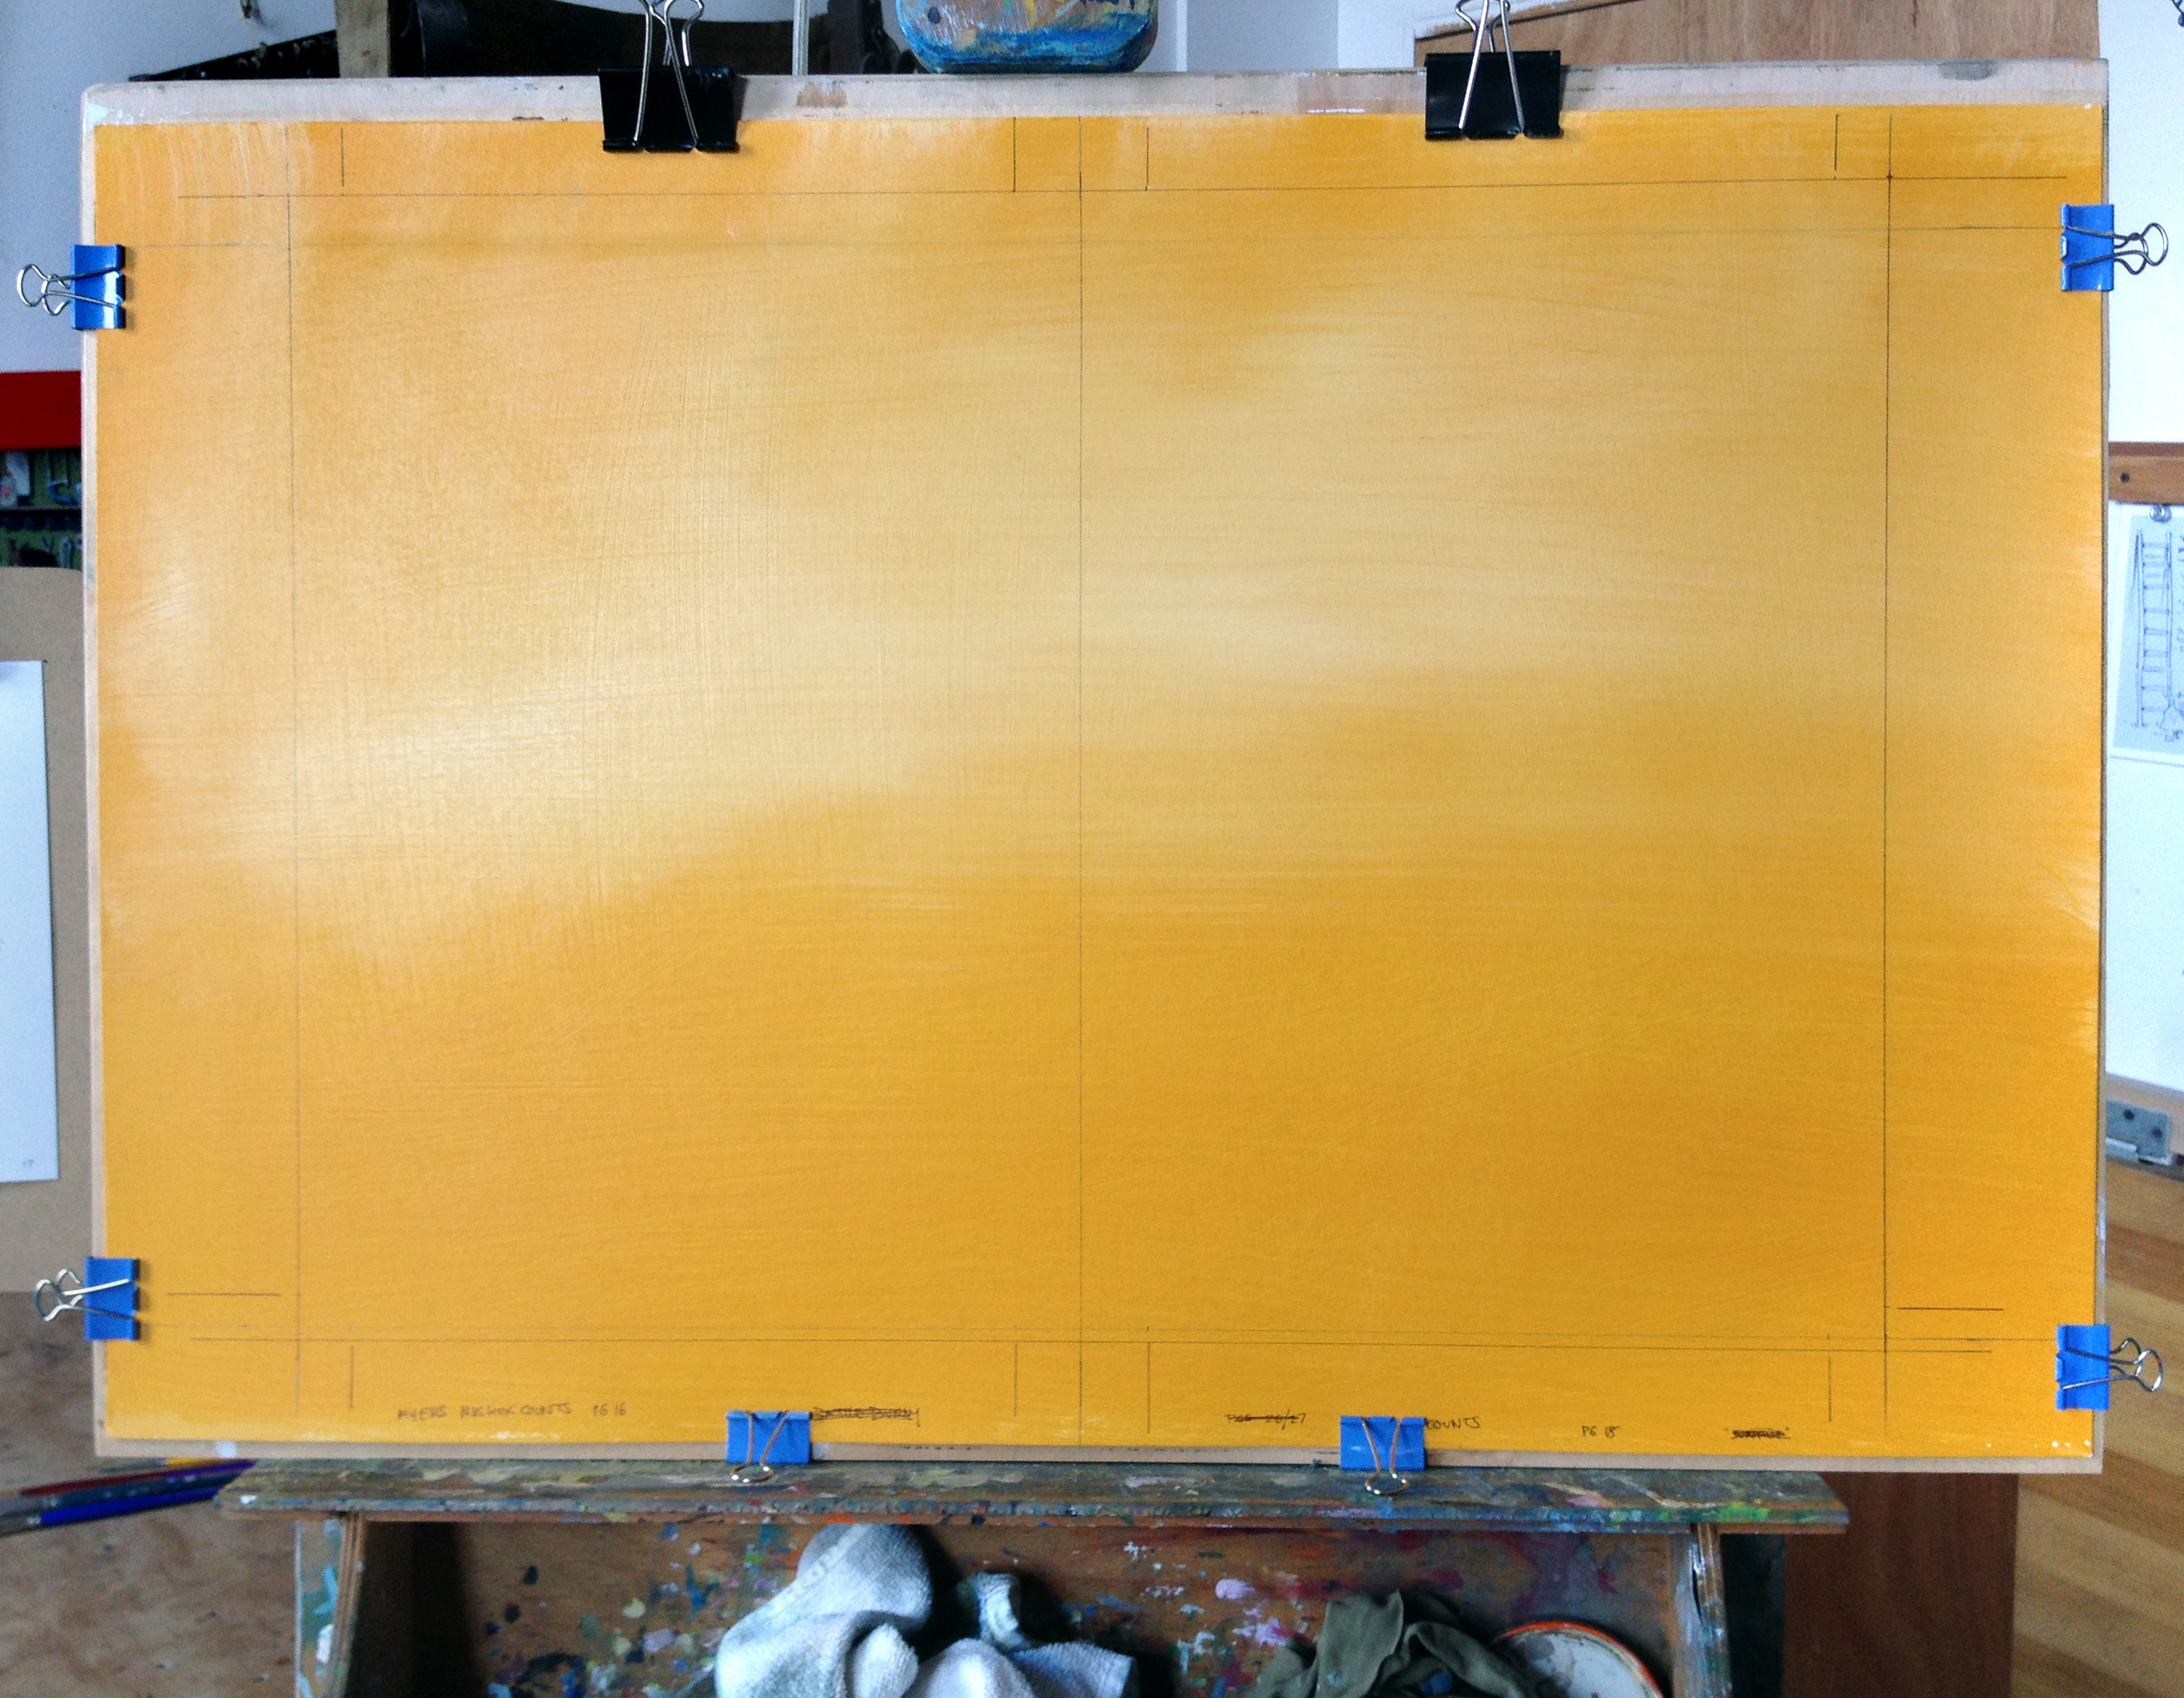
Because this is a vignette (a spot illustration on a white background), I drew it out on plain illustration board. I need to plot out the image rather than "feeling" it out as I did with 9 Bears, because I don't want to slop paint onto the white areas.

Translation of the sketch onto illustration board before paint is applied. I don't copy my dummy sketch literally, because there is always room for improvement.
This technique is like a coloring book, filling in color over a drawing. I'm using thinned oil paint in places like the desk and chair, to keep some areas loose and fresh.
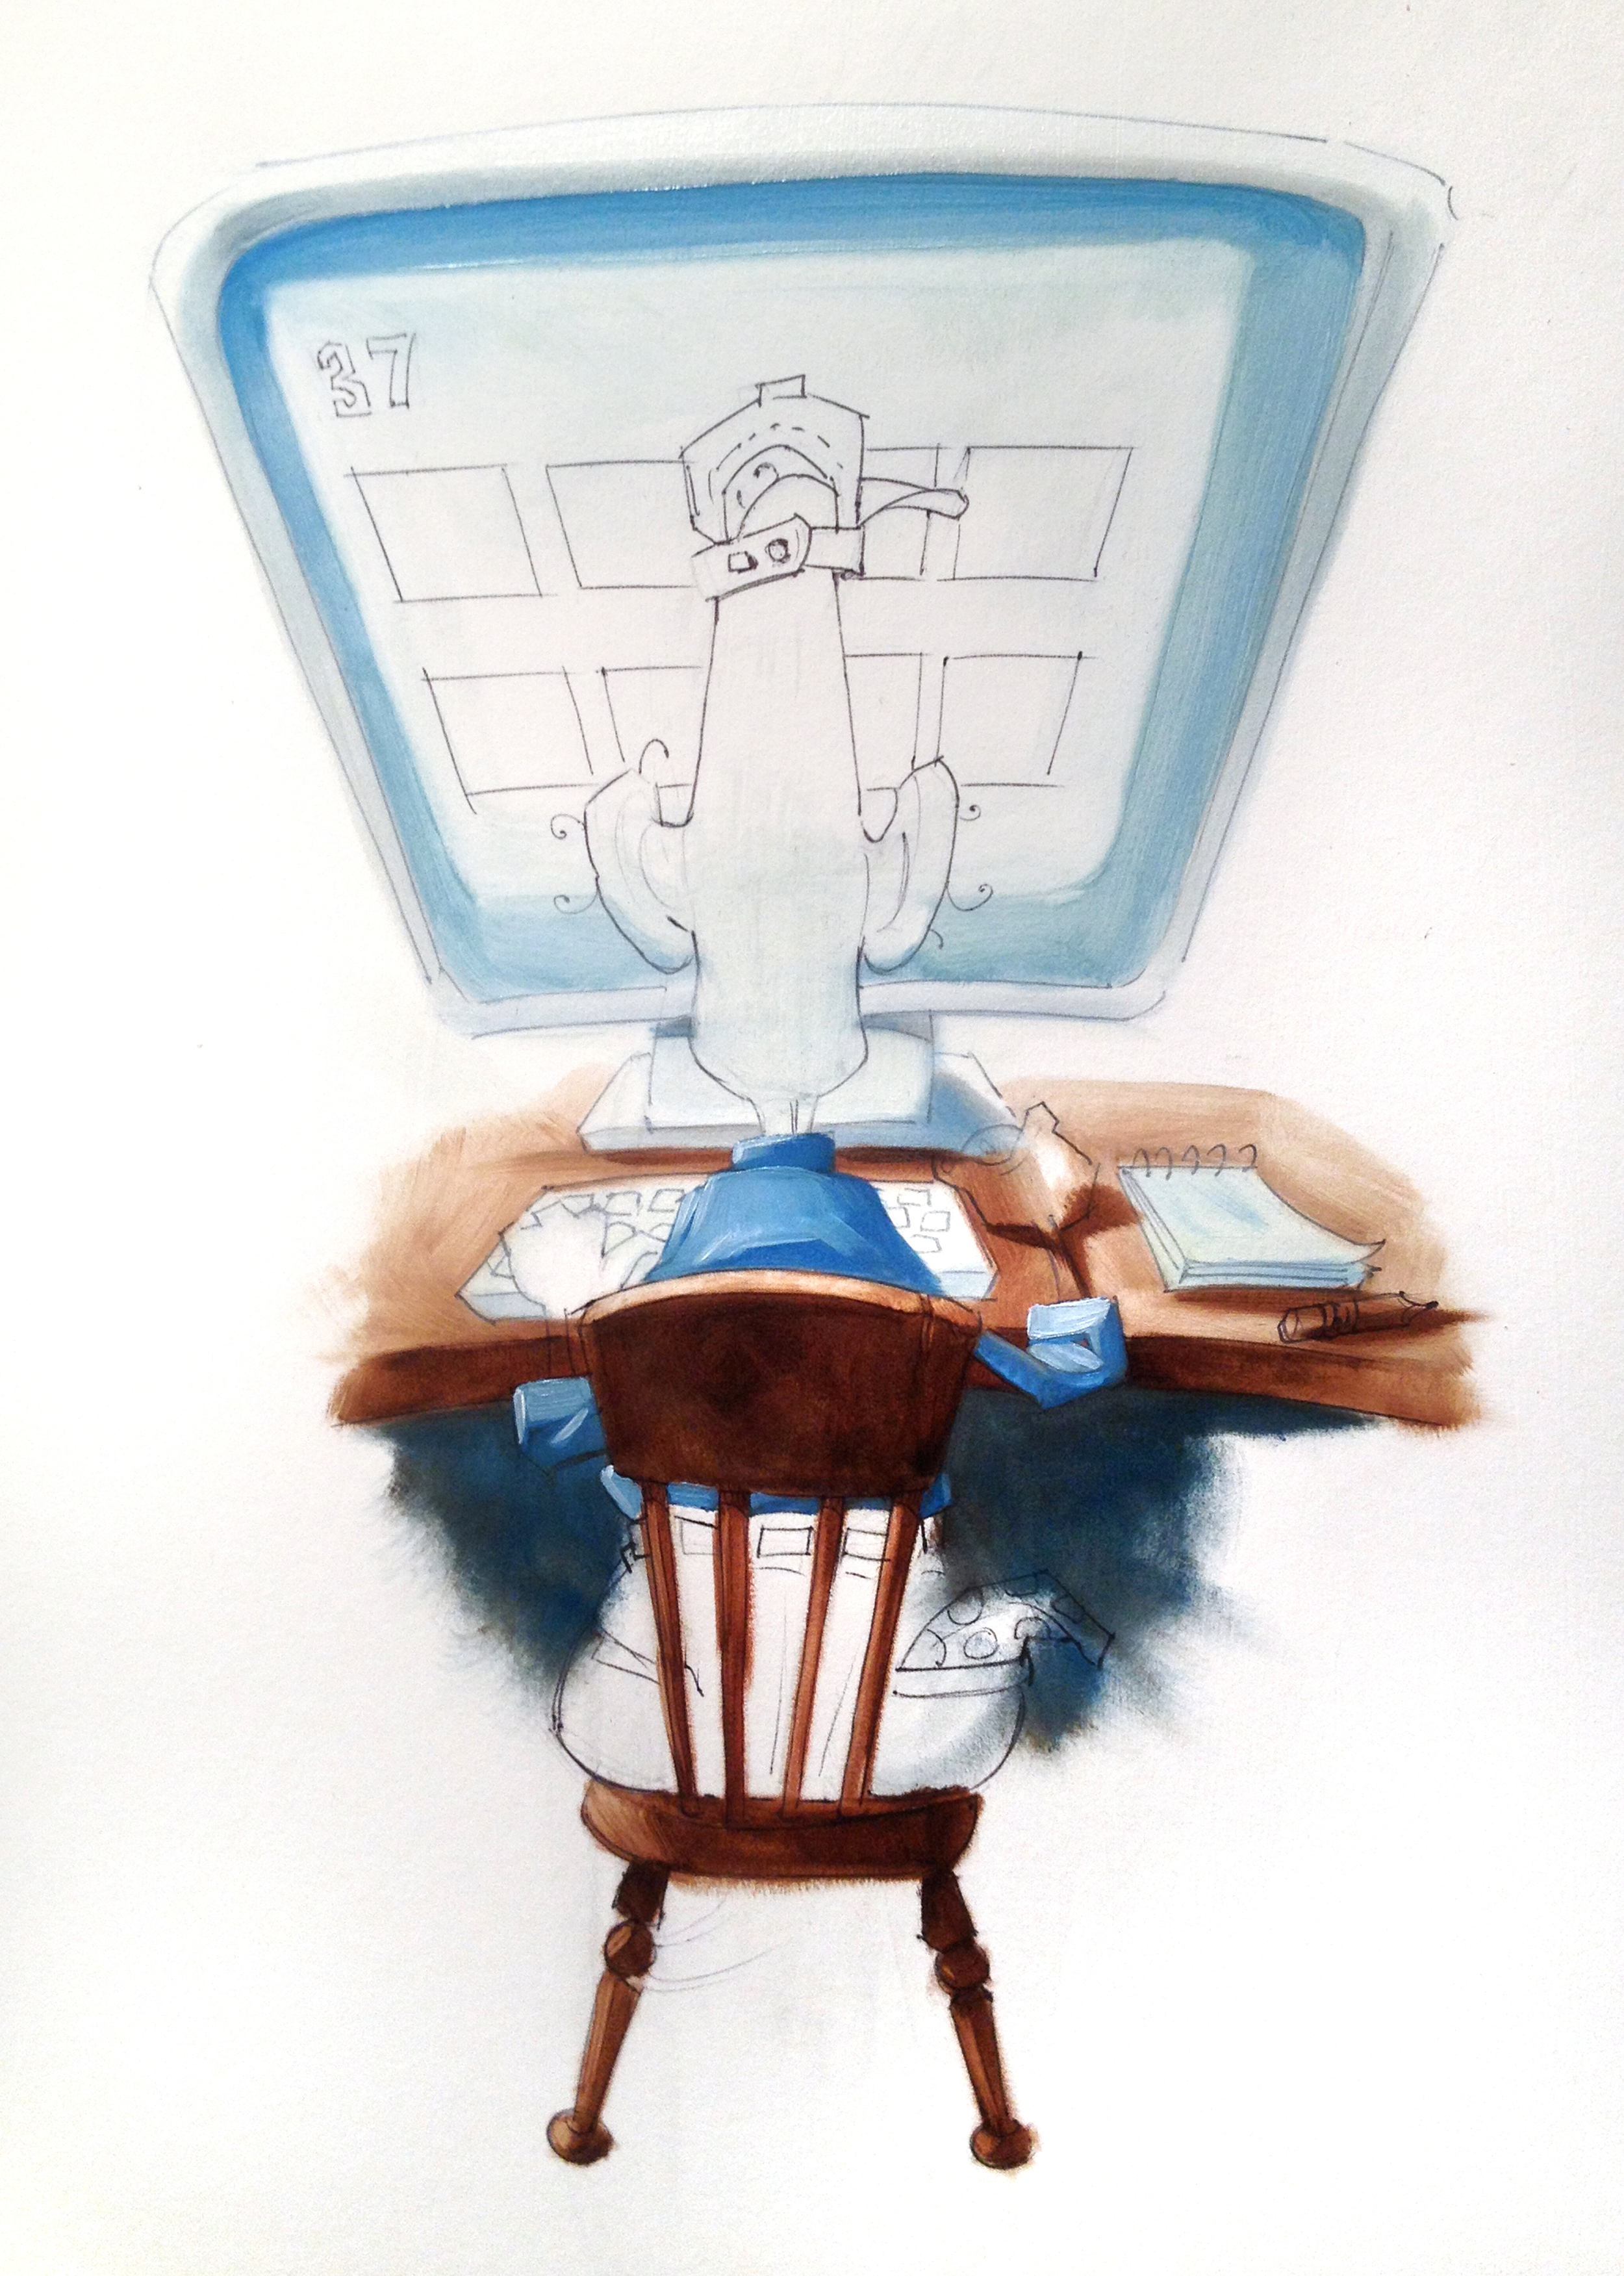
Most of the pencil drawing is covered up with oil paint as I go.
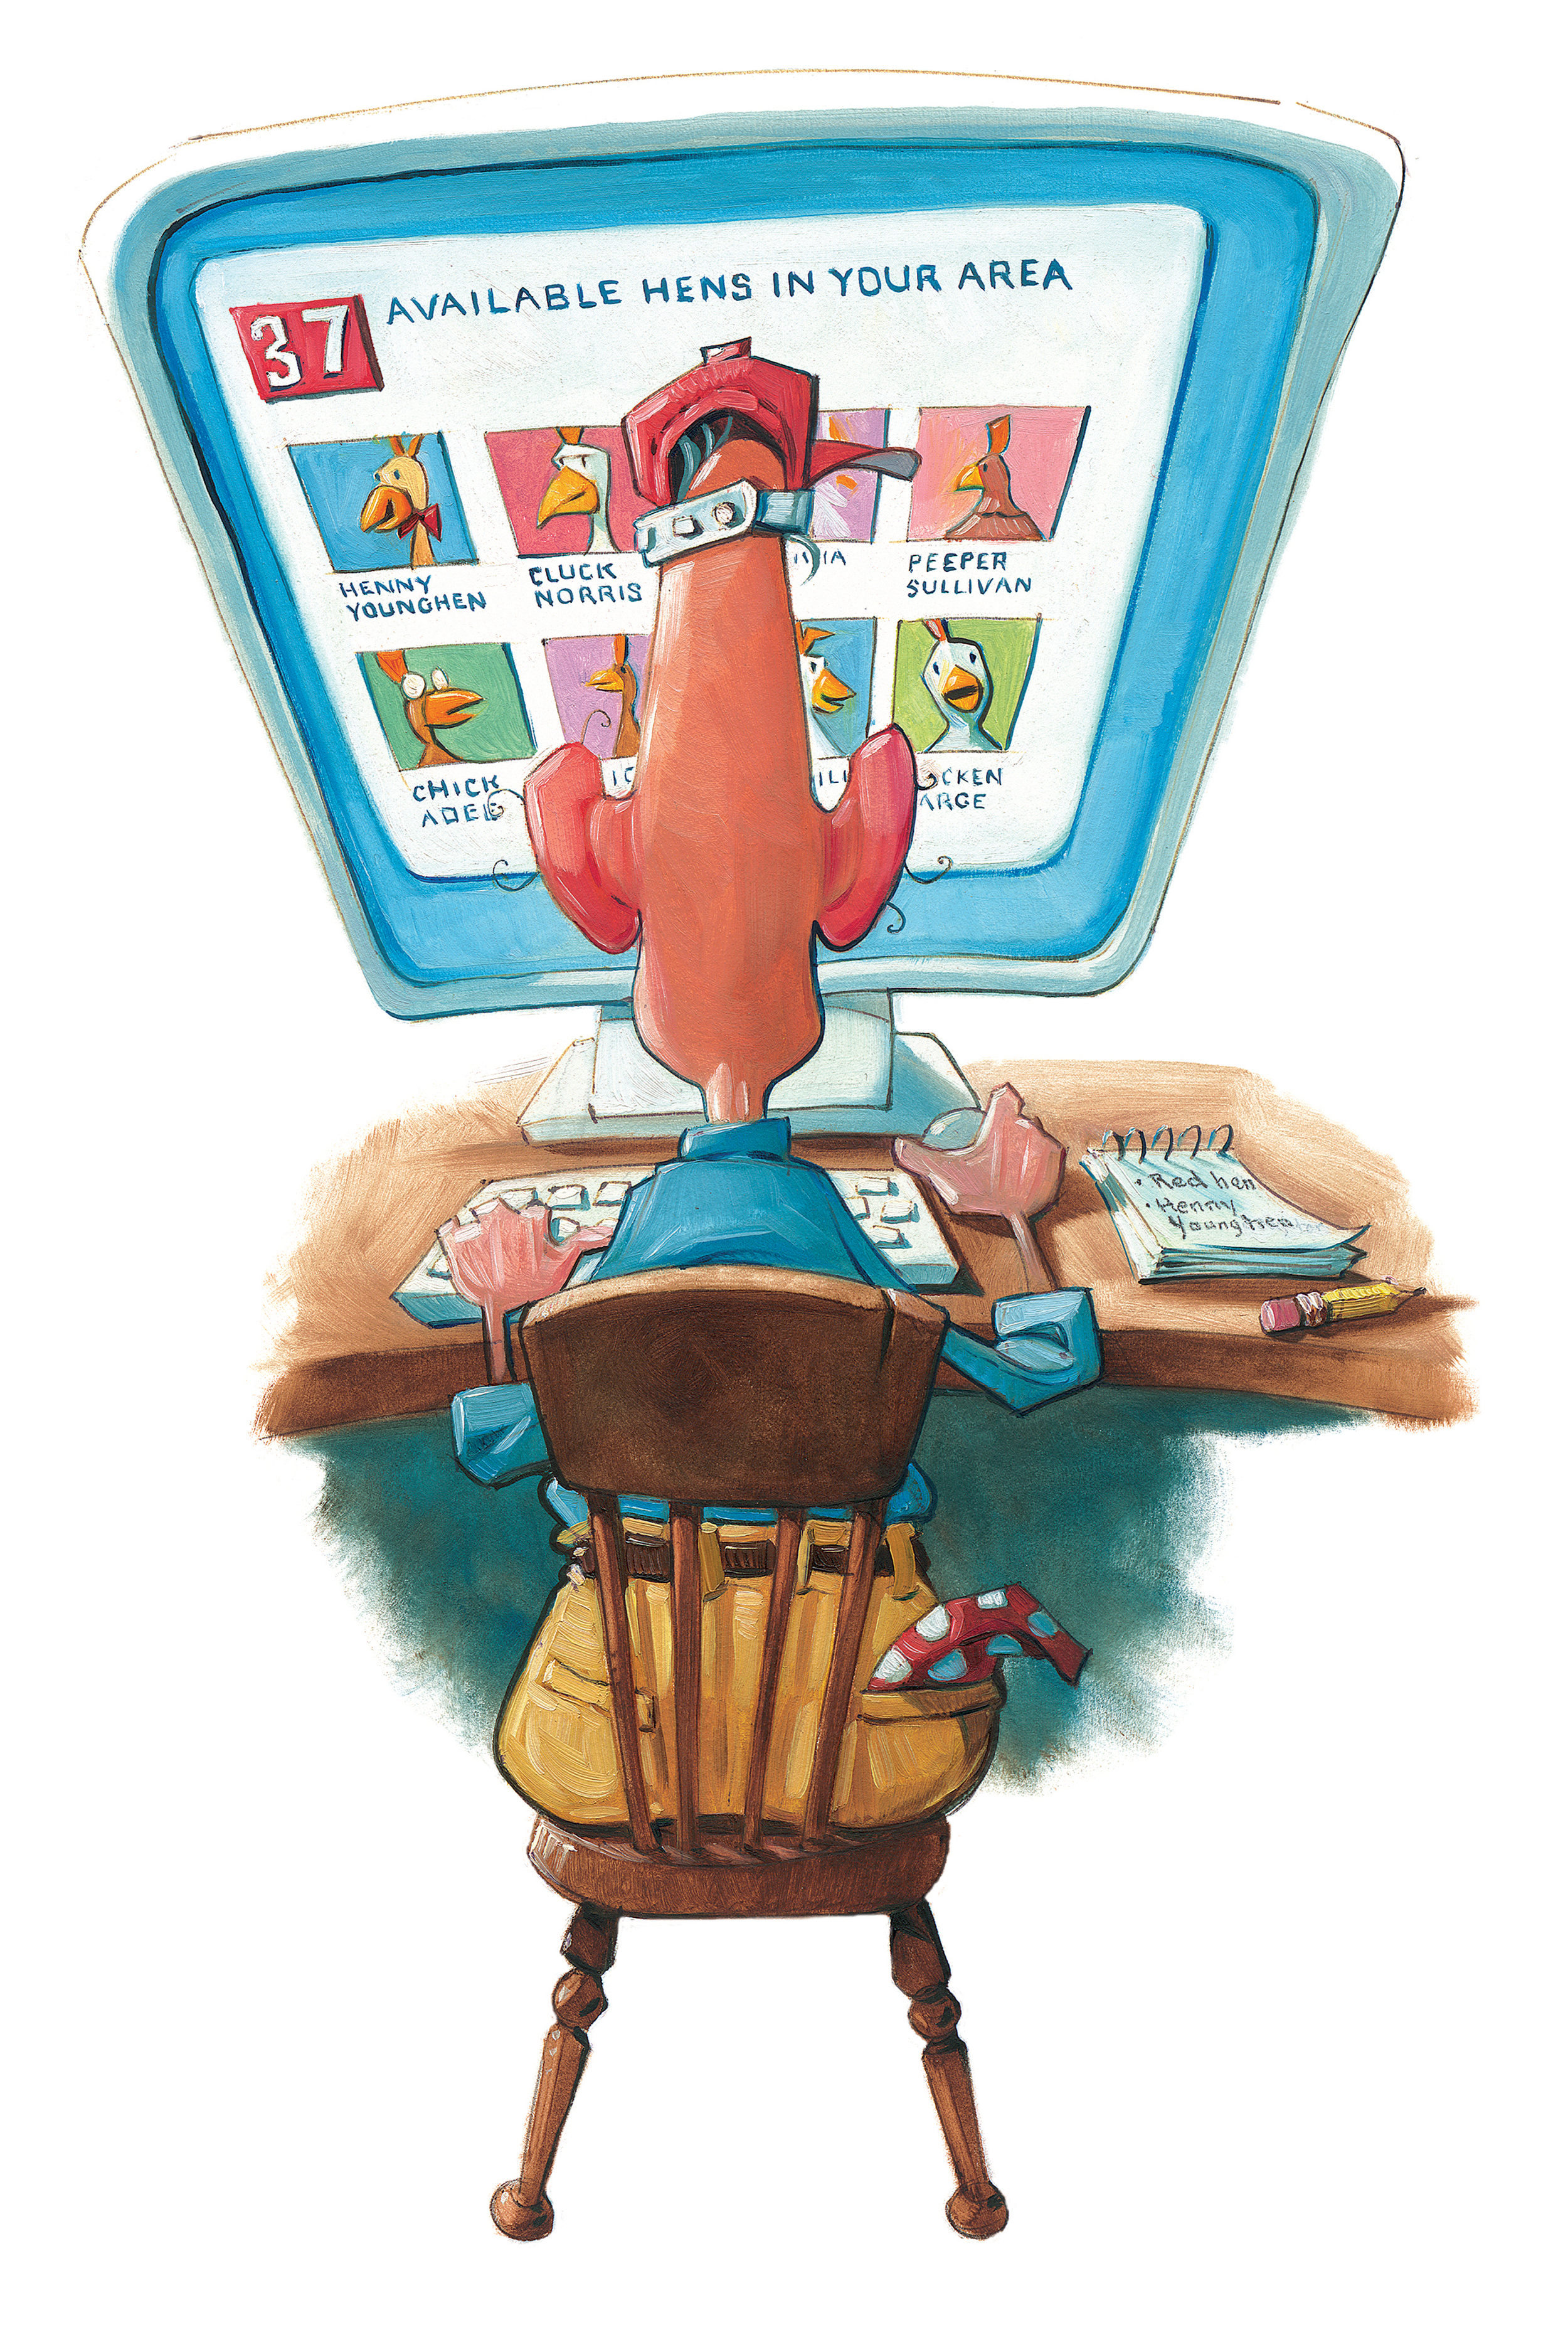
Final art. The pencil drawing is mostly hidden, but you can still see it in the ear hairs and on the keyboard.
When I'm not illustrating for books, I like to paint on wood, usually Masonite. I love the feel of paint on a hard surface (metal is great, too), and it stays nice and steady on my easel. I still work from a sketch, and paint in the manner described above for 9 Bears.
I also like to paint on found art prints (see my gallery for more examples), adding elements to change the story. This is oil paint applied directly onto a cardboard print.


I generally work with three sizes of brushes, and use a paper plate for a palette.
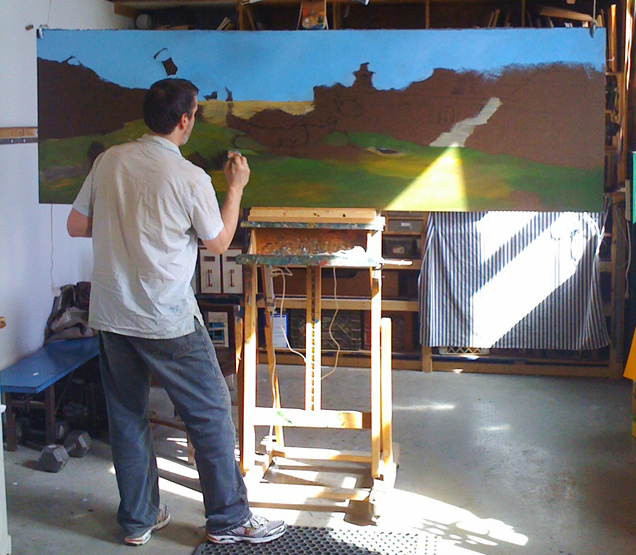
My easel is nearly vertical. I alternate between sitting and standing. Although I usually forget to, it helps a lot to step back and look at the painting from a distance. At my old studio in Brooklyn, 2011.
To steady my hand I use a mahl stick, which for me is any stick that's handy. Note the baby chicks camping out on my arm. That gives you an indication of how long I can stay in the same position. At my home in Charlotte, 2014.
Go to my why I paint page for some relief from all this jabber about technique.
Enjoying yourself? You can evaluate my website using this handy rating system: